
If you want to launch a successful online store, learning how to publish product page to WooCommerce is one of the first technical steps you must master. To publish a product page to WooCommerce, navigate to Products > Add New in your WordPress dashboard, enter your product details (title, description, pricing, and images), and click the Publish button in the Publish panel to make the page live.
Installing the WooCommerce plugin automatically creates a Shop page where you can list all your products (WooCommerce Shop Page). However, manually creating, configuring, and publishing individual product pages is the core operational task for any store owner. Before you begin, make sure your store is fully set up by following our comprehensive WordPress guide for online stores.
1. Navigating to the WooCommerce Product Editor
To access the WooCommerce product editor, log in to your WordPress admin dashboard, hover over the “Products” menu on the left sidebar, and click “Add New.” This action opens the WooCommerce product editor, which is built on top of the standard WordPress block editor interface.
If you are setting up your store for the first time, you can refer to a comprehensive WooCommerce setup for dropshipping guide to ensure your payment gateways, shipping zones, and tax settings are configured correctly before you start publishing items.
The editor interface is clean and intuitive, but it requires a systematic approach to ensure you do not miss any critical fields. Once you are comfortable navigating this section, you can easily manage hundreds of unique SKUs.
2. Entering Essential Product Information and Media
To enter product information, fill out the product title, add a detailed description in the main text editor, configure pricing and inventory in the Product Data block, and upload high-quality images to the Product Image and Product Gallery sections.
Creating a high-converting page requires structuring your product data correctly. The product editor is divided into several clear sections that you must fill out systematically to provide the best user experience.
- Title & Descriptions: Draft unique copy for both the main description and the short description (which appears next to the images). For tips on writing copy that sells, check out our guide on product page copywriting for dropshipping.
- Pricing & SKU: Input regular and sale prices, and set a unique SKU for inventory tracking.
- Media: Upload high-resolution images compressed to under 150KB to maintain fast page load speeds.
3. Reviewing Drafts, Visibility, and Scheduling Settings
To manage visibility and scheduling before publishing, use the “Publish” panel on the right side of the editor to save drafts, preview the live layout, set the page to private, or schedule a future launch date.
The Publish panel on the right side of the editor offers several control options. You can click Save Draft to save your progress without making the product live, or click Preview to open a new tab showing exactly how the product will look on your live site across desktop and mobile views.
You can also adjust the visibility settings to Public, Password Protected, or Private, or schedule the product to go live automatically at a future date and time.
Key Takeaway: Always preview your product page on mobile viewports before publishing, as over 50% of ecommerce traffic originates from mobile devices.
4. Clicking Publish and Verifying Your Live Page
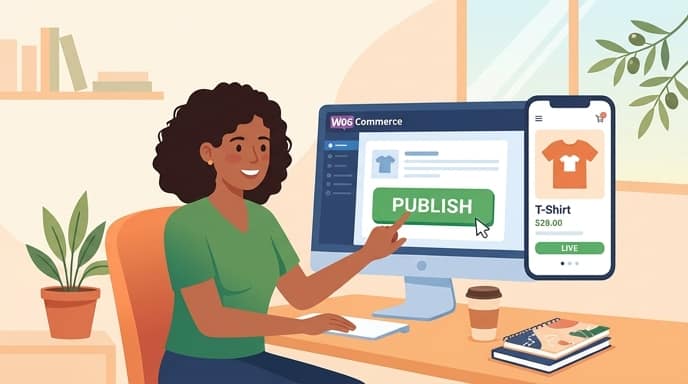
To publish a product page in WooCommerce, add product details and click the Publish button in the Publish panel to make it live (WooCommerce Product Guide).
Once published, you can click the View product link at the top of the screen to view the newly created product on your site (WooCommerce Product Guide). Verify that the price, add-to-cart button, and images display correctly on the frontend.
It is highly recommended to perform a test checkout or view the page on multiple browsers to ensure there are no layout breaks. This quick quality assurance step prevents lost sales from broken page elements.
5. How to Scale and Automate Your WooCommerce Product Publishing
To scale your catalog without manual entry, you can use automated AI tools to import supplier links and publish fully optimized product pages to WooCommerce in seconds.
While manual entry works well for a few items, scaling an online store to dozens or hundreds of products quickly becomes a major operational bottleneck. Manually copying supplier details, downloading images, and rewriting descriptions can take up to 30 minutes per product.
Instead of manual entry, tools like PageHunter allow you to paste a product URL and instantly generate an optimized, high-converting product page directly inside your WooCommerce store. You can explore PageHunter plans to see how to automate your catalog expansion. Using the best AI product page tools in 2026 can save you hundreds of hours of manual labor. Additionally, if you are also managing multi-channel stores, you can learn how to create Shopify product page from AliExpress link to keep your workflows consistent across platforms.
FAQ
How do I make a WooCommerce product page private?
In the product editor, locate the ‘Publish’ panel on the right side. Click ‘Edit’ next to ‘Visibility: Public’, select ‘Private’ or ‘Password protected’, click OK, and then click Update to save your changes.
Why is my published WooCommerce product not showing on the Shop page?
Ensure the product’s Catalog Visibility setting (found in the Publish panel) is set to ‘Shop and search results’. Also, verify that the product status is set to ‘Published’ and is not saved as a draft.
Can I schedule a WooCommerce product to publish automatically later?
Yes. In the Publish panel, click ‘Edit’ next to ‘Publish immediately’. Select the future date and time you want the product to go live, and the ‘Publish’ button will change to ‘Schedule’.
How do I view my published product page in WooCommerce?
Once published, you can click the ‘View product’ link at the top of the screen to view the newly created product on your site.